Pages

Saturday 20 February 2016

Upcycled Cassette Tape Pencil Holder

I have tons of old cassette tapes lying around. I have found a great use for the boxes which I demonstrated in this tutorial.

I saw this post on pinterest for an upcycled desk organiser made with 4 cassette tapes and an old floppy disk. There was no tutorial though. I decided to make my own. I ended up making 2 of these The great thing about these is that they are easy to customise and decorate.

Here is how made them:

Basic Structure:

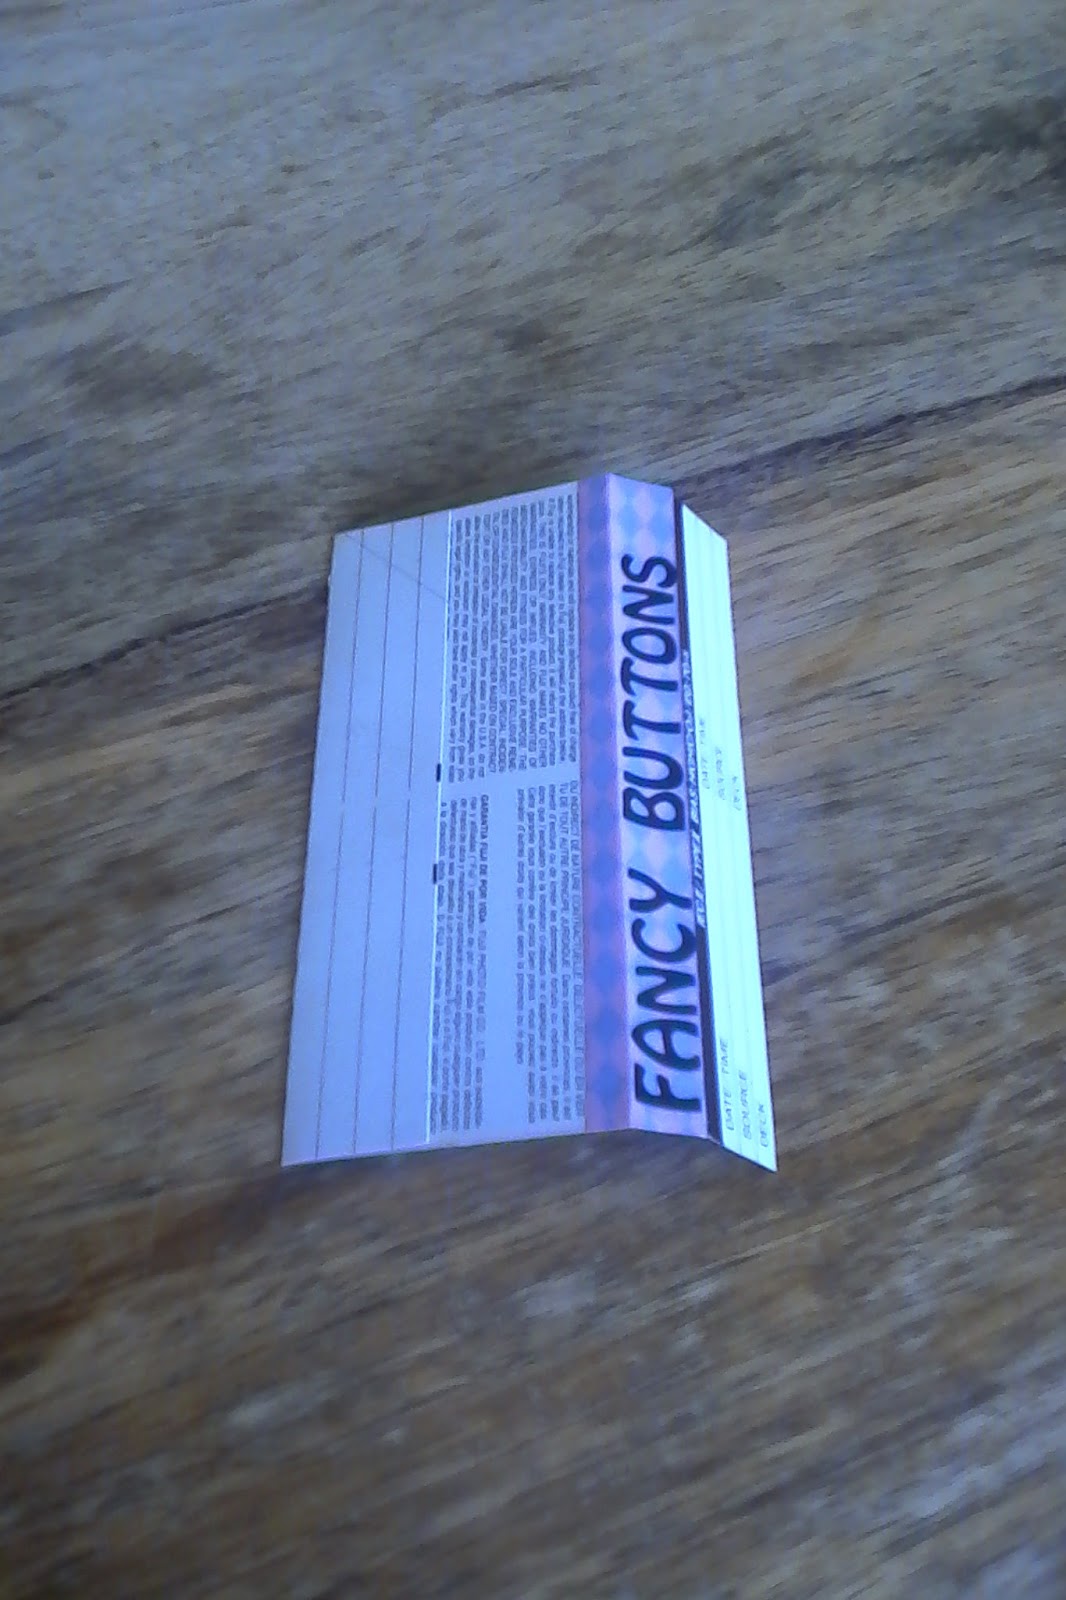
1. So it looks as simple as just sticking 4 cassette tapes onto a floppy disk. Or it would be if tapes didn't have annoying ridges sticking out on either side (pictured). I tried sanding them, but this didn't really work. I ended up spending ages with no results, this probably has something to do with the slick surface. My boyfriend suggested that I use something called a file iron. I used his and it worked really well. I only flattened the side of the cassette tape that I would be sticking to the floppy disk. Using a file iron is similar to using sandpaper, you let the file do most of your work for you. I used the file iron at an angle to the tape and moved it lightly back and forth.
I repeated this process on all 4 tapes.

2. Now it had to be stuck together. I initially tried using my glue gun but the glue didn't hold (this may or may not be due to the quality of my glue gun). I used superglue and this formed a firm bond. I stuck the newly flattened width of one tape to the floppy disk. Each time i added a cassette I smeared glue on the parts that would be sticking to the floppy disc and to the other tapes. Really simple. Now I had the finished product.


3. Decoration time. I left one pencil holder with no decoration and especially with clear cassettes with no printing this can look really nice, but obviously decoration is the fun part. I used a feather stencil with red and purple acrylic paint. My bronze Sharpie provided the final touches.


Additional decoration ideas: Spraypaint of any color would look great with this. Chalkboard spraypaint could be a great touch,


Thursday 29 October 2015

Cards for Sale

 
 I'm selling Christmas cards.
 
Cards are R10 each or 10 for R90.
 
Starting with the card on the left this postage stamp design is available in brown (pictured) or green ink with a green, dark green or red background. The card in the middle is available in several designs and with a pink, green, orange or yellow background. The card on the right can be bought as pictured available in green or brown with backgrounds available in red, green and dark green.
 
Please note that as cards are handmade uniformity cannot be guaranteed.
 
If you would like to place an order please email me at sherlock.danielle@gmail.com. I live in the Parktown-North area and am happy to deliver in this area or Sandton and surrounds.


Sunday 2 August 2015

Spray-painting Shells for Bathroom Decor

I've had seashells decorating my bathroom for a while. They had always looked messy; the colour's weren't uniform and they got really dusty lying in the open dish that they were displayed in. I saw this post on pinterest which suggested spray-painting sea shells chrome and using them as a décor item.
 
I decided to display them in jars and bottles of different heights. I had one pretty clear glass jar and I dug out a cordial bottle and a jam jar out of the recycling pile. After putting these through a cycle in the dishwasher I still needed to remove the labels and annoying sticky label residue. To do this I used the useful trick that I used in this post. It's really simple, I mixed equal parts of cooking oil and baking soda applied this mixture to the jar and left it for 30 minutes. Then, after a quick rinse the jars were clean and ready for use.
 
Spray painting the shells should have been really easy. I cleaned them and laid them on newspaper ready to paint. However, I had decided to buy silver spray paint instead of chrome spray paint. This was a mistake, The silver spray paint looked grey, industrial and dull. I went back to the hardware store and bought chrome. The shells now started looking really good. I thoroughly sprayed one side of a batch of shells, waited for it to dry. Then sprayed the other side.
 
Now I just had to place the shells in the jars and bottle. Filling up the bottle was time consuming and tricky as only very small shells could fit down the neck. If you decide to use a bottle to display your shells either make sure that you have a lot of small shells that will fit down the neck of the bottle or (and this my preferred suggestion) get one with a wider neck. The jars were simple though.
 
I like the cleaner, neater look.
 
Before:
 
 
After:

 
Enjoy!
 

Sunday 26 July 2015

10 Tips for Scrapbooking on a Budget

 
It can be easy to be overwhelmed by the huge number of available scrapbooking materials and to spend a huge amount of money. Here are some ways that I avoid breaking the bank on scrapbooking supplies:

 1. Research materials before you purchase them:
When I started scrapbooking I was unfamiliar with scrapbooking products. A lot of blogs and websites speak about scrapbooking tools like embossing folders as though everybody should know what they are. I found it helpful to go to a specialist scrapbook store Scrapadoodles, although they have an extensive online store I found this a bit overwhelming and wanted to see the products. The best part of this trip was that the woman in the shop was incredibly friendly and helpful about explaining how to use any tool that I mentioned

I also found watching online tutorials and reading posts on tips for beginners really helpful. This particularly applies to stamps and stamp ink. From one tutorial I learnt that certain inks hold more colour and are better for scrapbooking. I now understood why my dandelion stamp was producing faint images. I found this really helpful and also this tutorial on clear stamps.

2. Plan
Have an idea of the overall feel and theme of your whole album before you start. This way you are less likely to unnecessarily spend on items that you will not end up using. Planning your pages also means that you can use your supplies wisely. I've found these page maps very helpful for this.

3. Look at the same product at different stores for price comparison:
This seems obvious but is quite important. I was shopping for washi tape the other day and the same pack of 3 was R30 more expensive at Cardies than CNA.

4. The first time that you buy a brand of product only buy one:
On the above mentioned shopping trip I purchased a pretty Washi Tape at CNA. This washi tape doesn't adhere properly and I have to stick double sided tape to it whenever I want to use it. Trial and error is a necessary part of scrapbooking but keeping costs down is good too.

5. The craft store is not the only place to buy scrapbooking materials
More and more stores are stocking scrapbooking materials or materials that can be used for scrapbooking. Often these stores can be a little cheaper than the traditional craft store. For example, at Typo recently there was a 10 cardstock for R20 deal (that's about $1.60), there wasn't a huge variety but I stocked up on some of the nicest designs.
 
Takealot.com which basically sells everything, don't have a huge variety of supplies but they keep plain American Crafts cardstock which you can buy cheaply in packs of ten. As you can see, buying in bulk definitely pays off.
 
 
6. Dress up plain cardstocks rather than buying expensive ones:
Plain coloured cardstock are significantly cheaper than the fancy, decorated ones. You will need to acquire some tools for doing this such as stamps, washi tape (click here for some ideas about designing backgrounds using washi tape) and distress ink.

7. Wrapping paper is your friend:
Wrapping paper is a cheap way to buy lots of pretty paper. It's thinner than cardstock but you do get a large amount for your money. This is very useful for dressing up plain cardstocks and for adding embellishments and layers to your projects.

8. Make your own embellishments:
Embellishments can easily eat a huge portion of your scrapbooking budget. Making your own is generally easy and fun. See my previous post here. I have a whole pinterest board dedicated to this.

9. Use Free Printables
Free printables are the best. You can search for the perfect one and customize their size. All you pay for is the colour printing.

10. Recycle
If you see a pretty picture in a magazine, keep it. I have a whole file-box filled with images from magazines that I use for scrapbooking and other craft projects. If you happen to buy or be given a product with pretty packaging, save it for a scrapbooking project. Below is a card a made using a soap box and a champagne box:


Saturday 18 July 2015

Upcycled Cassette Tape Box Storage

I'm trying to provide myself with a more efficient and tidy space to do crafts. The difficult thing about organizing craft supplies is the large number of small items which are difficult to store. I've seen a couple of posts on Pinterest where old cassette tape boxes are used for storage. None of this storage has looked particularly appealing. I thought that this storage solution could be both neat and pretty.

I found some old blank cassette tapes and boxes at home. They needed a good clean but were soon ready for storage. The only slightly annoying thing about this storage is the plastic spokes attached to the box can get in the way.


Items needed:
Washi Tape
Letter Stickers
Cassette Tape Boxes
Scissors

I wanted to be able know what exactly was in each box. The paper covers inside the tape boxes were perfect for this.

For each cover I cut a piece of washi tape slightly longer than necessary. I neatly stuck the washi tape along the spine and trimmed off the edges. I wanted mine to look uniform so I used the same washi tape for all of them, but you could have some fun this. I quite like the idea of different styles in the same colour or organize your boxes in rainbow hued awesomeness.

For the writing, I chose to stick letter stickers along each spine describing my items. You need to check that your letter stickers are the correct length before you do this so that they fit neatly along the spine. I chose to use letter stickers because I really wanted the writing to be bold and easily legible. If, unlike me, you can write attractively you could very easily write on the spine. Alternatively, use this tutorial to put words on your washi tape.

 
Then slip the cover back into the box, add your items and you are done. You can also always change the label description or washi tape that you used at a later date.


All that remains to do is make something with the cassette tapes.
Enjoy!

Monday 13 July 2015

Upcycled Makeup Storage Jars

I needed some storage for my make-up brushes as they were all just lying in a shallow dish in my bathroom and looked messy.
 
My idea for a solution was to stand the brushes in a jar, they were also getting quite dusty in the dish. I wanted the jars to be pretty. I've seen so many lovely upcycled jars on Pinterest that I thought this would the ideal solution. I decided to spray paint some of the many old jars that I have at home.
 
The tools I used:
Rustoleum spray paint in marlin blue
Spray-Mate spray paint in silver
Old jars
Baking soda
Cooking oil

The first thing to do was clean the jars. I found a really great way to remove stubborn labels and jar residue on Pinterest. You mix baking soda with cooking oil and spread the mixture onto the jar and leave for about 10 minutes which works perfectly.

Once they were clean it was time to begin spray painting. There seems to be a general consensus that Rustoleum is the spray paint which works the best (it is definitely better than the Spray-Mate I've been using for other projects). I'm trying to theme my in bathroom in different shades of blue. So I decided to go with the shade marlin blue

I'm really bad about following instructions given on products, but the first jar that I spray painted didn't look so great. Then I decided to follow the instructions on the can and the second jar looked awesome. I also sanded the second jar between coats and this produced a lovely smooth finish. It also helped to cover up any mistakes. I left it to dry for the 24 hours recommended.

My make up brushes are all different lengths. To make them look nice and uniform, I thought that I would fill the jar with something to hold them in place. I had read that you can fill jars with rice. I had some pearl barley in the cupboard that was shortly going to pass its sell by date, this was my rice substitute. I spraypainted the barley, to prevent any nasty insects from taking residence at a later date. I used some silver spray paint for this which was leftover from another project. This process took ages! I didn't think of this beforehand, but barley is round and this makes spraypainting every surface very difficult. If I did this again I would use something double-sided like coffee beans. After several coats this was the result:


All that remained to do was put the brushes into the jar. I love the finished product:


Enjoy! 


Tuesday 7 July 2015

From Glow-in-the-Dark Stars to Scrapbooking Embellishments

I keep finding different things to upcycle! I came across two different sets of glow-in-the-dark stars this week and thought about ways to use them. I needed to cover them with something pretty, especially as some had an unattractive yellowy sheen. I decided to cover them with some pretty toile tissue paper that I had lying around. Now I have a great new set of embellishments.


Tools needed:
Glow in the dark stars
Scissors
Pretty Tissue Paper
Glue
 
How to:
 
First you need to clean the stars, mine were covered in dust and prestik. Then place your star on the tissue paper and cut a circle (a square or blob-like shape will also do) around it. Leave plenty of space around the sides of the star
 
Then cover the front of the star with a thin film of glue. Gently place your circle of tissue paper on the star. Move this around until you can see that the part of the paper you want displayed is stuck to the front side of the star. Press down and wait for this to dry.
 
Then trim away the excess paper from the outer sides of your star, the only paper left should be between the points of the star.  Then cut a slit between 2 points of the star and trim away excess paper to make a flap.

 
Then turn the star over. Cover the flaps in glue and press down, repeat this for all five points of the star. Leave to dry and then you should have something like this:


Enjoy!